Docker: Installing it on macOS
In today’s guide, we’ll delve into the process of installing Docker on macOS. Whether you’re a seasoned developer, a sysadmin, or a beginner looking to explore containerization, you’ve come to the right place.
Getting it up and running on macOS is not difficult, but it is a good idea to carefully consider some procedures to avoid installation problems. Don’t worry, we will now see everything in detail. Let’s go!
If you are looking for how to install it on Windows, follow our alternative guide: Docker: Installing it on Windows
Step 1: Check your system requirements.
To be honest, in the Mac OS environment there are not many requirements to check, but you have to analyze the type of chip that your Mac device is equipped with:
If it has an Intel processor, then you don’t need to prepare anything else; the system is ready for Docker installation.
If it has an Apple Silicon processor (e.g. M1, M2, etc.) you need to install Rosetta 2.
You can do this by simply opening a terminal and running this command softwareupdate --install-rosetta
Step 2: Download Docker Desktop for Mac OS
Ready for a little shopping?
- Navigate to the Docker Hub website (put your cursor here, clickity-click).
- Find the Desktop Mac OS section. Look for the “Download For Mac” button. (N.B. The website should automatically detect the type of chip in your Mac, whether Intel or Apple Silicon. Click on it and a download should start.
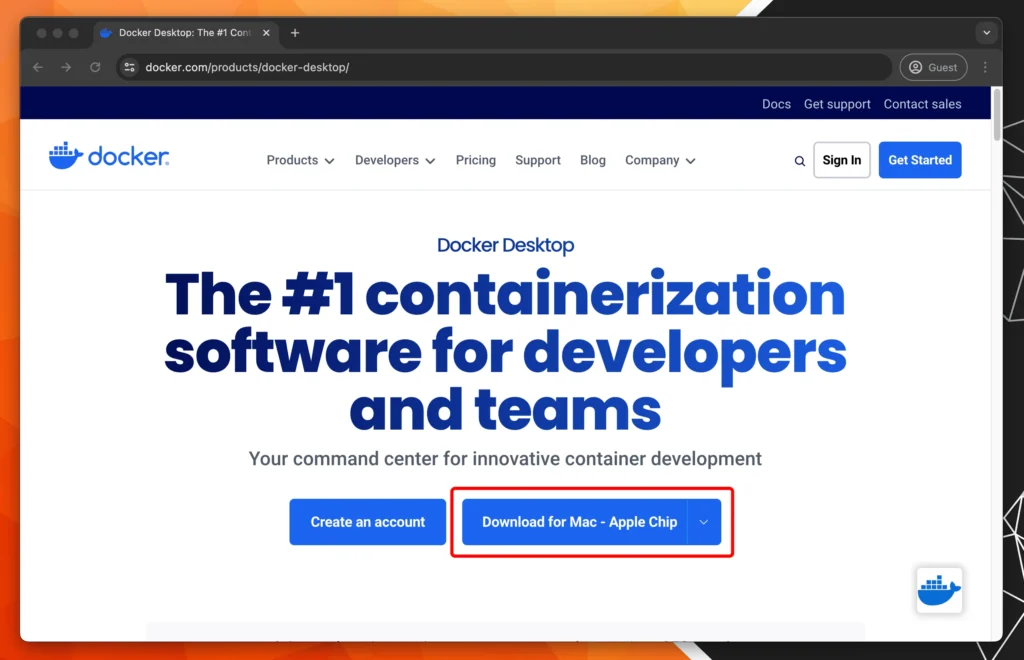
Step 3: Install Docker Desktop on Mac OS and Setup
Once the download is as complete, follow these steps:
- 1. Open the downloaded installer, and move the application into the App folder
- 2. After installation, open the Desktop app. You can do it by searching for “Docker Desktop” through the Spotlight Search
- 3. Accept the Terms and Conditions.
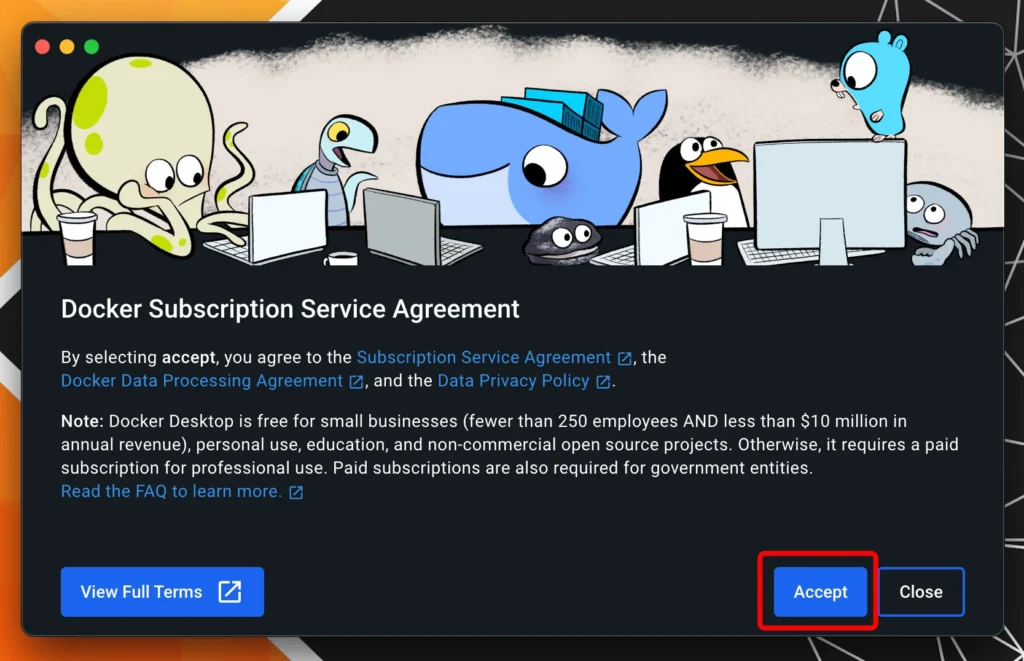
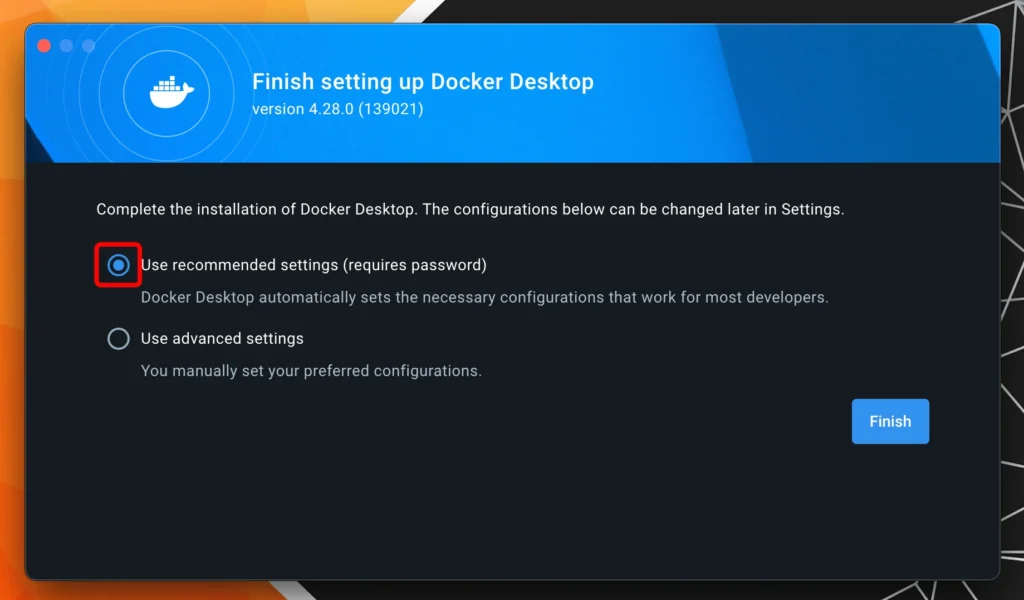
- 4. Select the recommended settings.
- 5. You might have to log in with an account. If you don’t have one, consider signing up—it’s like getting a backstage pass to the Docker universe.
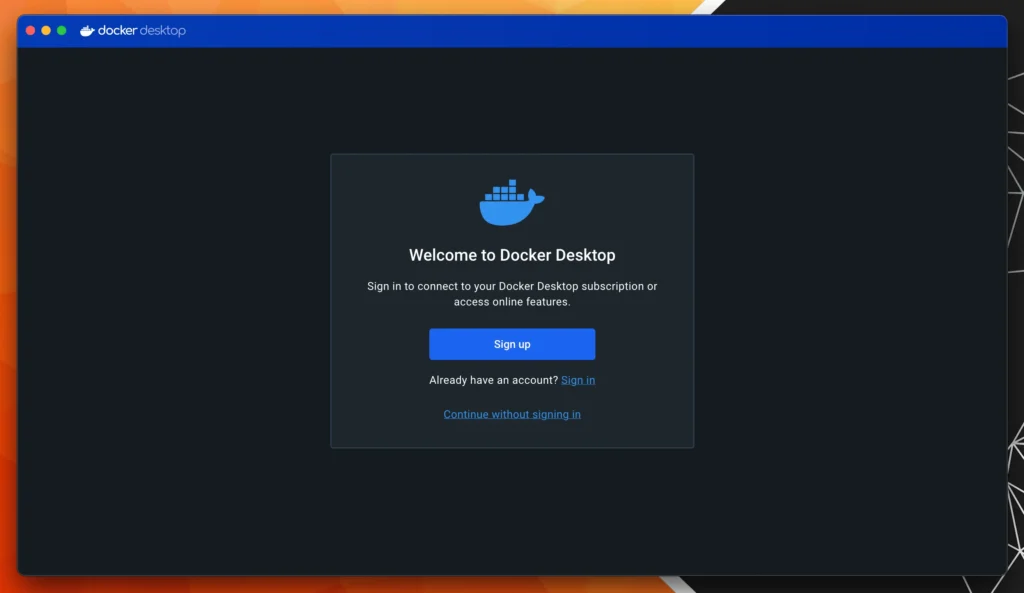
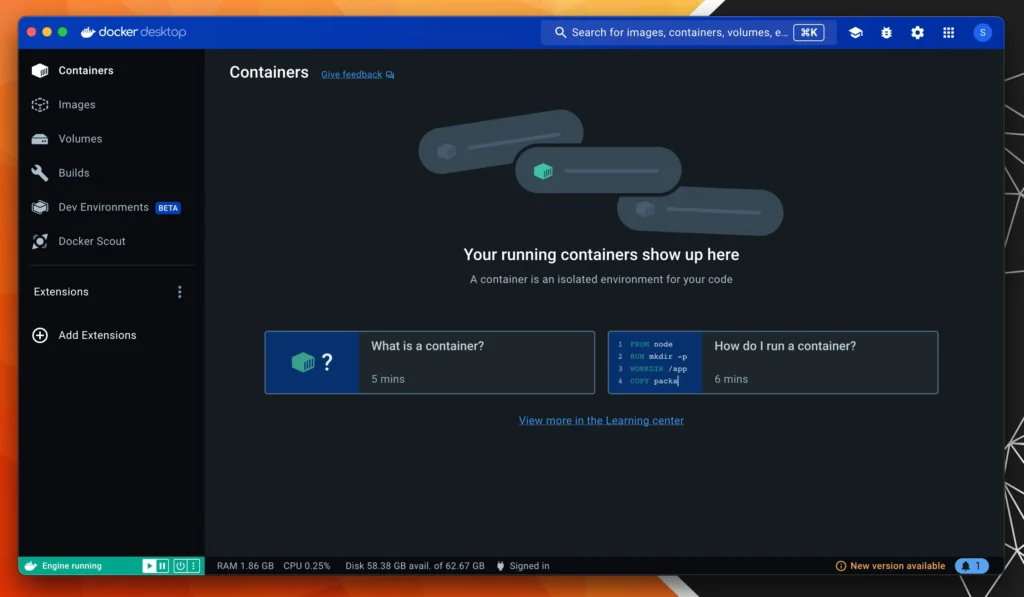
Once setup is complete, the Desktop application should look like the screen below:
Step 4: Verify the Installation
Let’s ensure that everything is working smoothly:
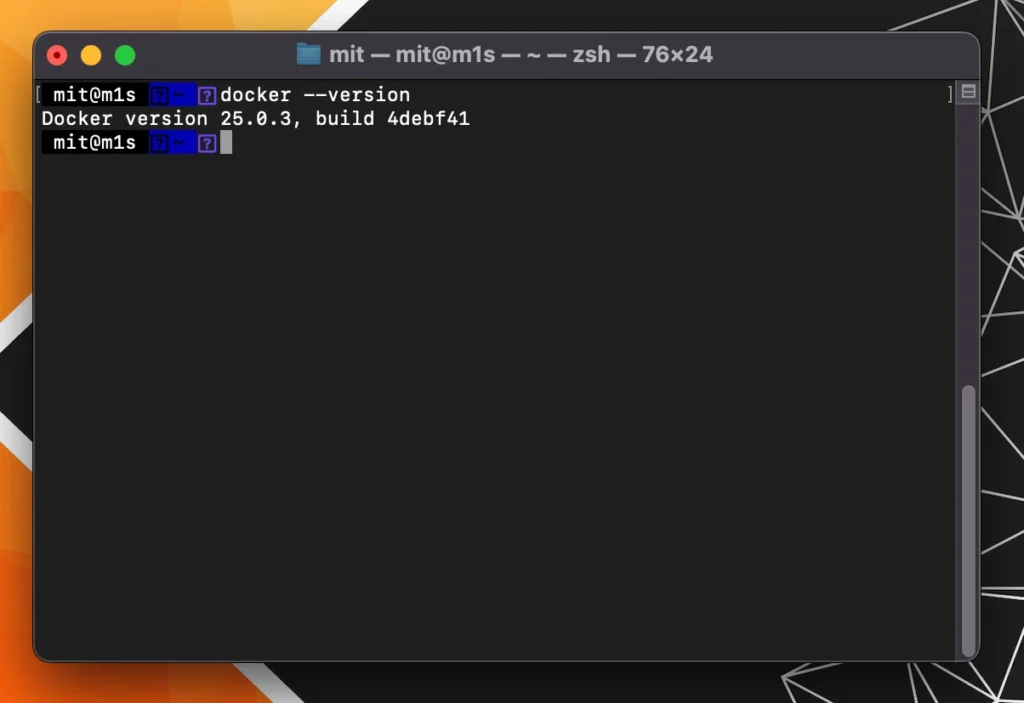
Open a command prompt. You can do this by typing “cmd” in your search bar. Type docker --version and press Enter. If it prints the version, then it seems to be correctly installed in your system.
Step 5: Test running a container
Just to make sure that the docker engine is running properly, try to create a demo container by running this command:
docker run hello-world
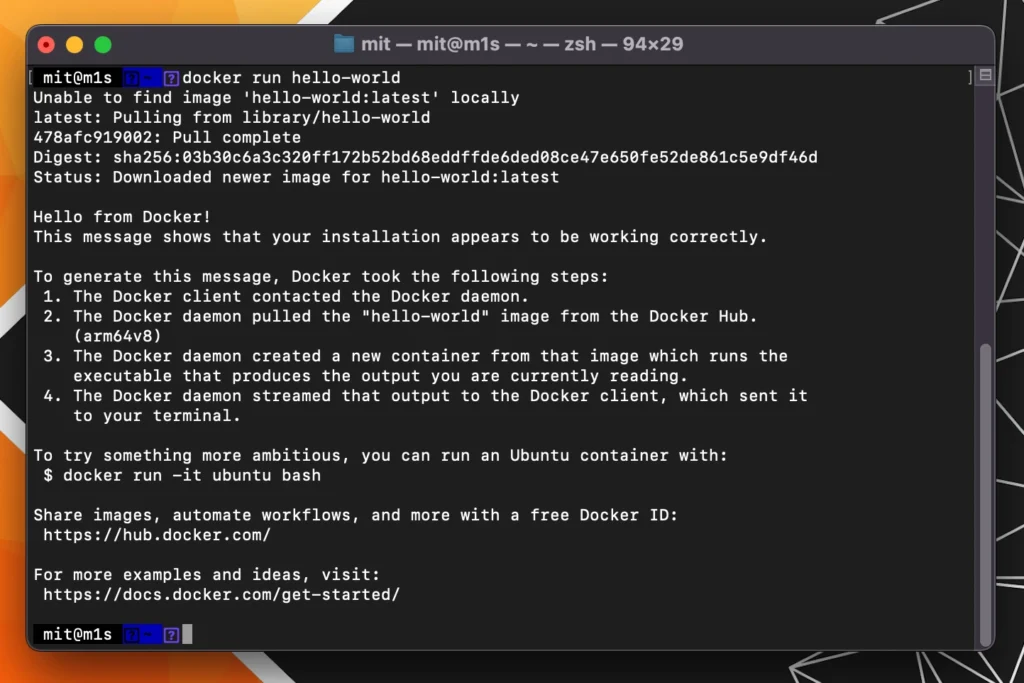
If the result is similar to what is displayed on the screen above then congratulations! You’re all set to containerize the digital world.
Step 6: Done!
Congratulations, you’ve successfully installed Docker on MacOS! Now, the world of containers, microservices, and massive scalability is at your fingertips. Feel free to do a victory dance or treat yourself to a cookie – you’ve earned it!
We hope this tutorial helps you. Don’t forget to support us by following us on our social networks and on our YouTube channel!


1 Comment
How to Install Docker on Windows - Burneeble.com · 22 April 2024 at 11:25
[…] If you are looking for a guide for macOS you can jump into our tutorial: Docker: Installing it on macOS. […]