How to Install OpenDevin in 5 Steps: Updated May Version
Do you want to install the new OpenDevin but are having trouble? Through this step-by-step guide and the related video, you will no longer have any doubts about how to do it.
It’s easier than you think, and even if you’re not a developer you can follow this tutorial and reach the final goal: replacing developers with AI… er, no sorry, we wanted to say that you will be able to create a Tic-Tac-Toe game in a few steps.
Who is OpenDevin AI?
In recent weeks everyone has been talking about Devin, the new AI Software Engineer presented by Cognition Labs, who is causing a lot of fear to developers.
Fear or not, it’s still too early to tell, Devin hasn’t been released yet so we don’t know what he will actually be able to do.
The open source community, however, did not stop, and took the ball: open source clones of Devin are being created, and they are 100% open source projects. Among these projects, Open Devin stands out, as one of the most promising open-source Devin clones.
We believe it is possible to create an AI software engineer who can develop as well as, if not better than, a human. But the fear of being replaced can be defeated if you know how to use this tool to help and improve yourself in the development of applications and software.
Today we will show you what OpenDevin can do, and how to install and use it for building your projects, and you’ll be surprised how simple it will be. Just a few days ago OpenDevin underwent a big update that greatly simplified its installation and use on a normal computer, be it Windows or MacOS. Let’s go with this guide!
Step #0. Installation Requirements.
Before proceeding with this installation guide, there are some requirements to meet, make sure you know how to get an Openai API key and create your own and finally, you must have the Docker software installed in your computer, if you don’t know how to install don’t worry, we’ve created articles for all operating system that will help you cover these requirements in just 5 minutes!
| macOS | Windows | |
|---|---|---|
| Docker Installation | https://burneeble.com/docker-installing-it-on-macos/ | https://burneeble.com/how-to-install-docker-on-windows/ |
Step #1. Setup OpenDevin in your system
Now, without wasting any further time, let’s proceed with the setup of OpenDevin on your system.
As you will see for yourself, if the requirements mentioned above are met, starting OpenDevin will be very easy.
First of all make sure Docker Engine is up and running.
Start Docker Desktop if you haven’t already. In the Docker Desktop window, If the bottom left corner is green then everything is fine: docker is active and ready for use.

Step #2. Create a new folder and open in VS Code
To contain Devin’s workspace, and the various settings, create a new folder and open open in your editor, we are using Visual Studio Code.

Step #3. Create the launch script
To avoid writing many commands in the terminal every time you have to start OpenDevin, the best thing is to put all the configuration commands in a bash script.
Then proceed to create the start.sh file

Paste the following script into the file:
export WORKSPACE_BASE=$(pwd)/workspace;

docker run \
    --pull=always \
    -e SANDBOX_CONTAINER_IMAGE=ghcr.io/burneeble/node-sandbox \
    -e SANDBOX_USER_ID=$(id -u) \
    -e "WORKSPACE_MOUNT_PATH=$WORKSPACE_BASE" \
    -v "$WORKSPACE_BASE:/opt/workspace_base" \
    -v /var/run/docker.sock:/var/run/docker.sock \
    -p 3000:3000 \
    --add-host host.docker.internal:host-gateway \
    ghcr.io/opendevin/opendevin:0.5
In summary, here’s what the script does:
- Set the path to the workspace folder, that is, the one where OpenDevin will save the files it creates. By default a folder will be created in here automatically, so you are not required to make any changes.
- Runs OpenDevin inside a Docker container. This is the most important step, it’s where the docker application runs.
For compatibility reasons we created an ad-hoc Docker image to be used with OpenDevin: to use it log in to this github link. We did this in order to allow OpenDevin to natively support more development technologies. In this case we have extended the native OpenDevin image, also supporting Node.js and all the frameworks that derive from it (Express.js, React.js, etc.).
In any case, at the end of this the situation should be this:

Step #EXTRA. Windows Users
If you are using Windows as your operating system, you will have to perform an additional step otherwise you will not be able to continue.
You will need to search for “Turn Windows Features” using windows search and open it. Scroll until you find “Windows subsystem for Linux”. Enable the option if it is not already enabled and click “OK”. The installation process will begin, so click “Restart” once completed.
Once rebooted, open Command Prompt, and type:
wsl --install --distribution Ubuntu-22.04. This command will install a subsystem that will allow you to start OpenDevin. Then you will then need to create a new username and password.
Before proceeding with the next step, you will have to open a terminal and use the Ubuntu one: you will have to perform all the next steps from this terminal.
Step #4. Run the script and launch OpenDevin
You are now ready for starting OpenDevin, you just have to run the script. To do this within VS Code, right-click on the script.sh file and open it in terminal.

To run the script, type in the terminal:
chmod +x start.shNote: If you are on Mac OS or Linux, the script may give you a “Permission Denied” error. To give it execution permissions run this command:
./start.shIn any case, once the script is started, all that remains is to wait for the Docker image to be downloaded and executed. The first time you run the script, it may take much longer due to the download.
When everything is complete, the terminal should look similar to what is shown here:

The OpenDevin app is available at the local address http://0.0.0.0:3000
Step #5. Open OpenDevin in your browser
Open your web browser and paste the address from before ( http://0.0.0.0:3000 ).
The OpenDevin page should look like the following:

We want to remind you that it is possible to follow this guide on how to install OpenDevin also on our YouTube channel, it could make it easier for you to continue the steps exponentially.
Step #6. Configure OpenDevin
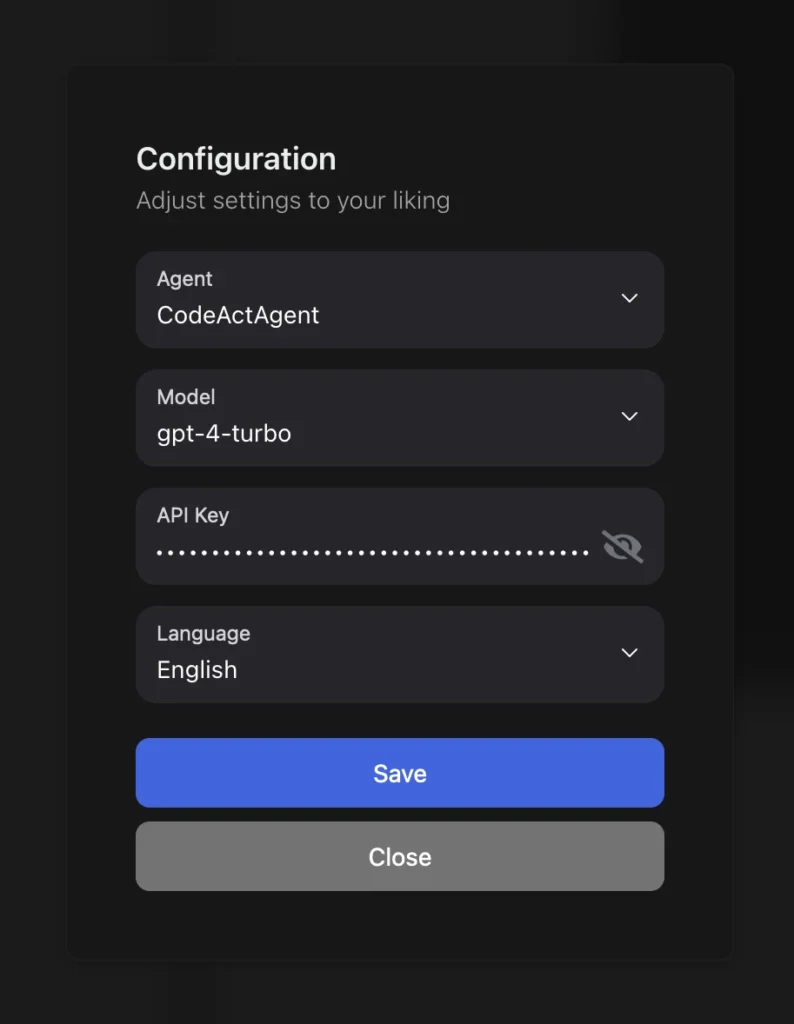
After opening the local OpenDevin address in your browser, in newer versions you will see a configuration popup, similar to the following:

From here you will be able to set the OpenAI key, so that OpenDevin can have access to the GPT models.
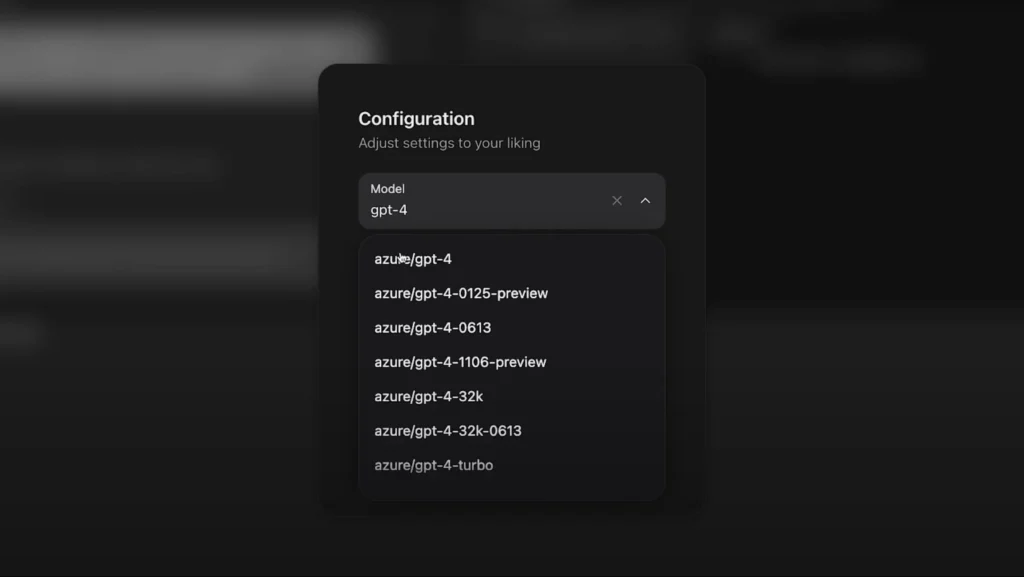
Another configuration is in fact the choice of model: the default is gpt3.5-turbo, but for complex tasks gpt4-turbo is certainly better (obviously its use is more expensive).
Assign a task to OpenDevin: Tic-Tac-Toe Game
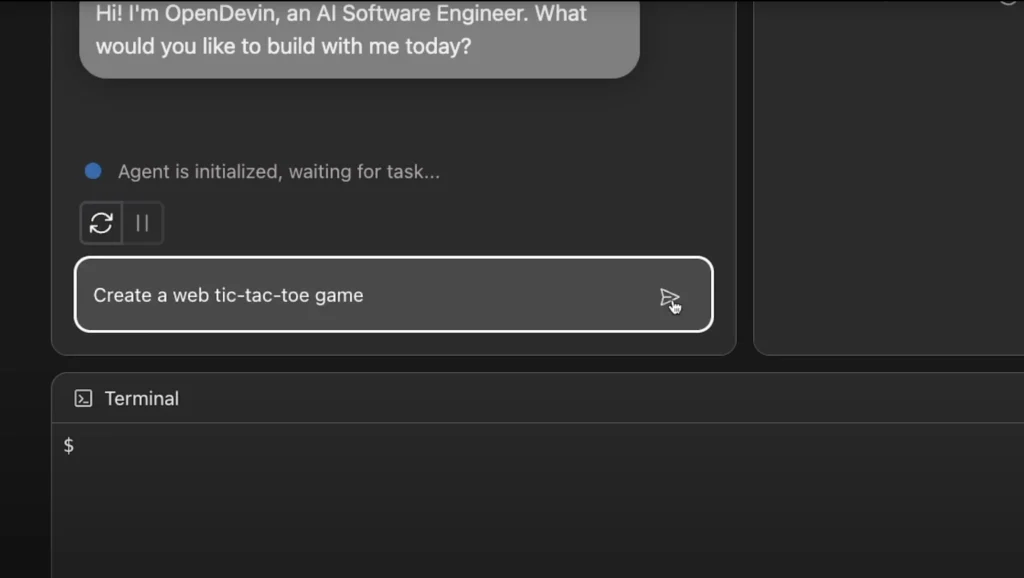
Well, if you’ve made it this far it means you’re ready to assign OpenDevin its first task. Just enter a prompt describing the task to be performed, and you’re done!
Obviously consider that OpenDevin is still an alpha-project not yet stable, so in the execution phase it is not uncommon for bugs to occur, or for the system to crash unexpectedly.
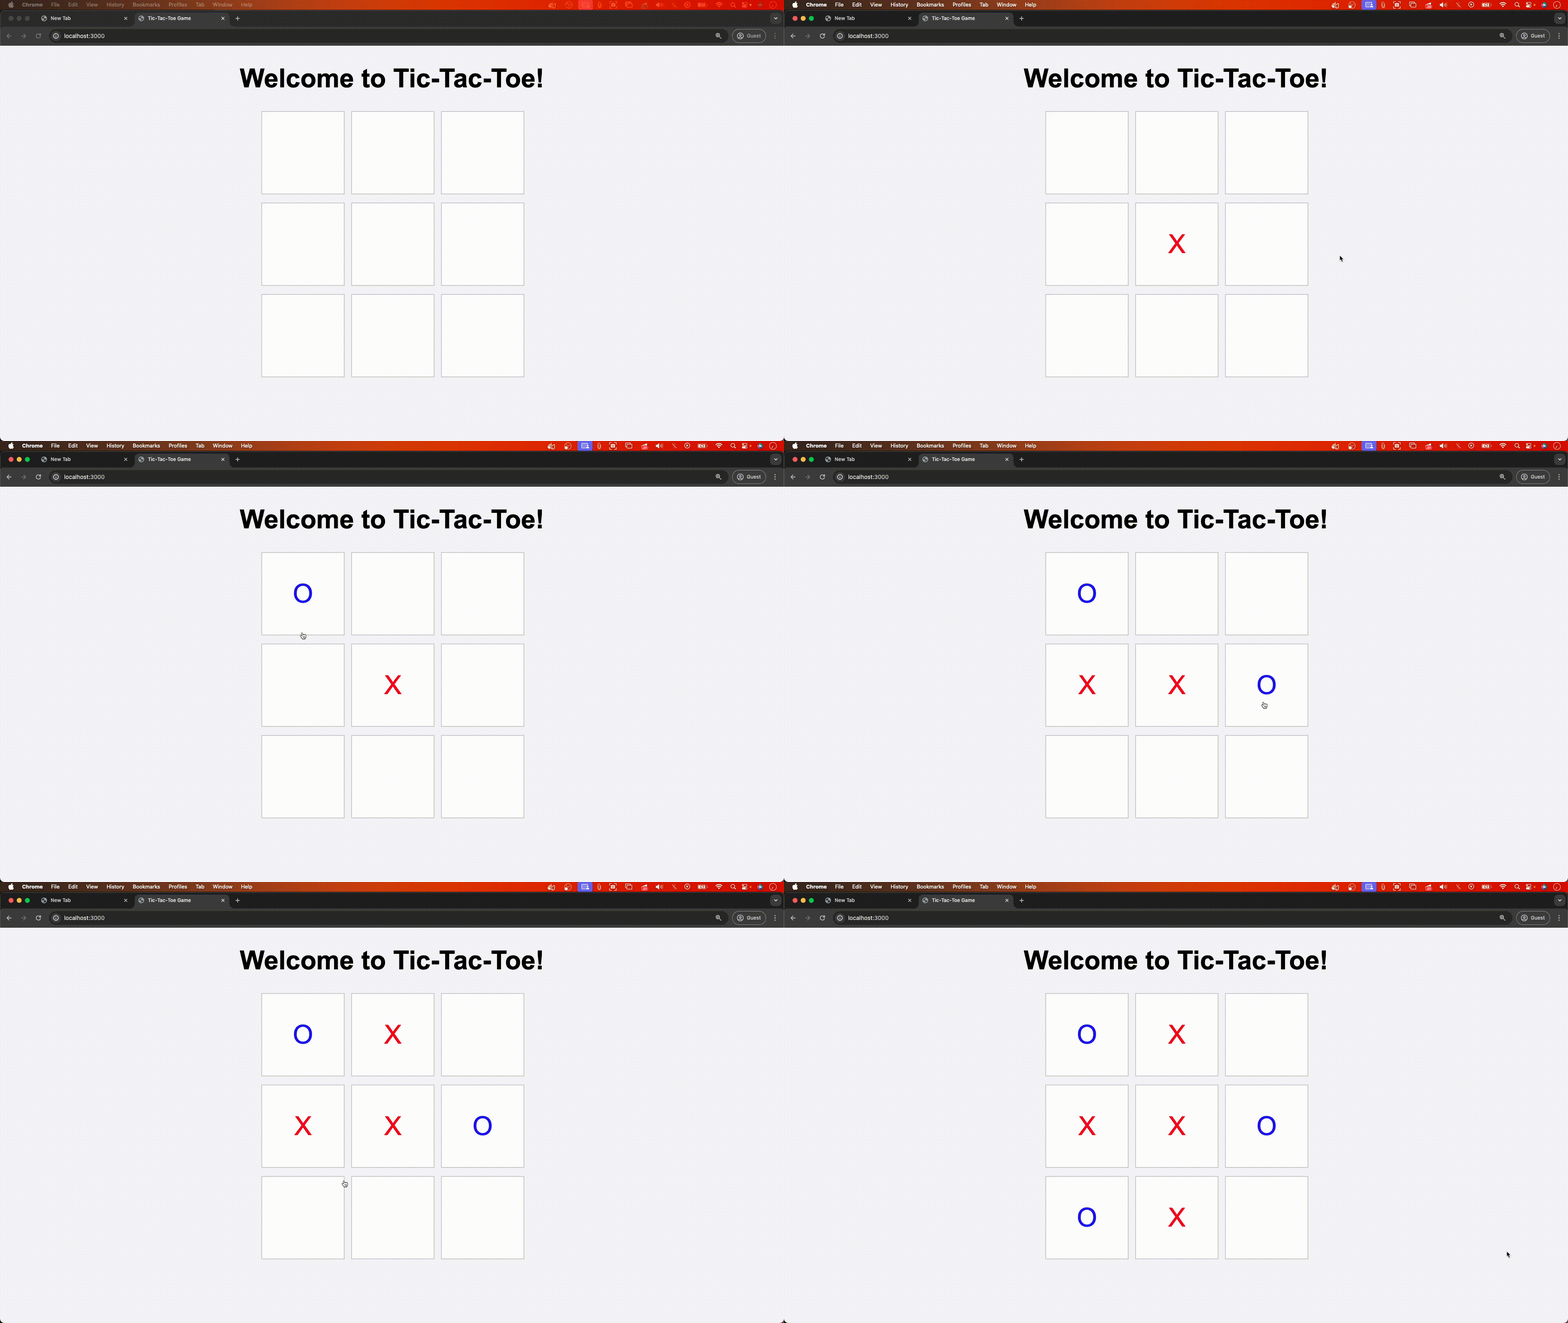
Just as example, let’s try asking OpenDevin to implement the Tic-Tac-Toe game in a web page.
First we set up the OpenAI gpt-4-turbo model.

Then we entered the prompt, in this case it is “Create X Y Z”.

And now all you have to do is let OpenDevin do its job as an AI Software Engineer and wait!

Conclusion
Thanks to the latest OpenDevin updates, the installation of this AI Software Engineer is easier, all you need is an Openai API Key and the Docker Software installed.
If you need more support while following this guide, you can take a look at our YouTube video. Greetings from the Burneeble team and our new best friend OpenDevin!