How to Install Docker on Windows
Today, you will learn to install Docker Windows. Whether you’re a developer, a systems admin or just a tech enthusiast looking to play around with containers, you’re in the right place. Don’t worry!
Installing it on Windows isn’t quite like a walk in the park, it’s more like a brisk stroll through a very well-organized tech garden. Let’s get started, and don’t worry, we’ll hold your hand through each step.
If you are looking for a guide for macOS you can jump into our tutorial: Docker: Installing it on macOS.
Step 1: Check Your System Requirements
Before we jump into the installation process, let’s make sure your system is ready to run Docker. The requirements are as follows:
- Your operating system must be Windows 10 64-bit or Windows 11.
- Make sure you have Hyper-V feature enabled, if you don’t know what it is or how to enable it you can follow this short guide to do so.
- BIOS-level hardware virtualization must be enabled in the BIOS settings. Enabling hardware virtualization can be complex, especially if you have no experience in this field. Each computer has different settings due to differences in motherboard models. So, there is no one-size-fits-all guide to enable this feature. We recommend that you conduct research specific to your hardware. Just type your motherboard model or computer brand followed by “how to enable hardware virtualization” to find the most accurate guide.
Step 2: Download Docker Desktop for Windows
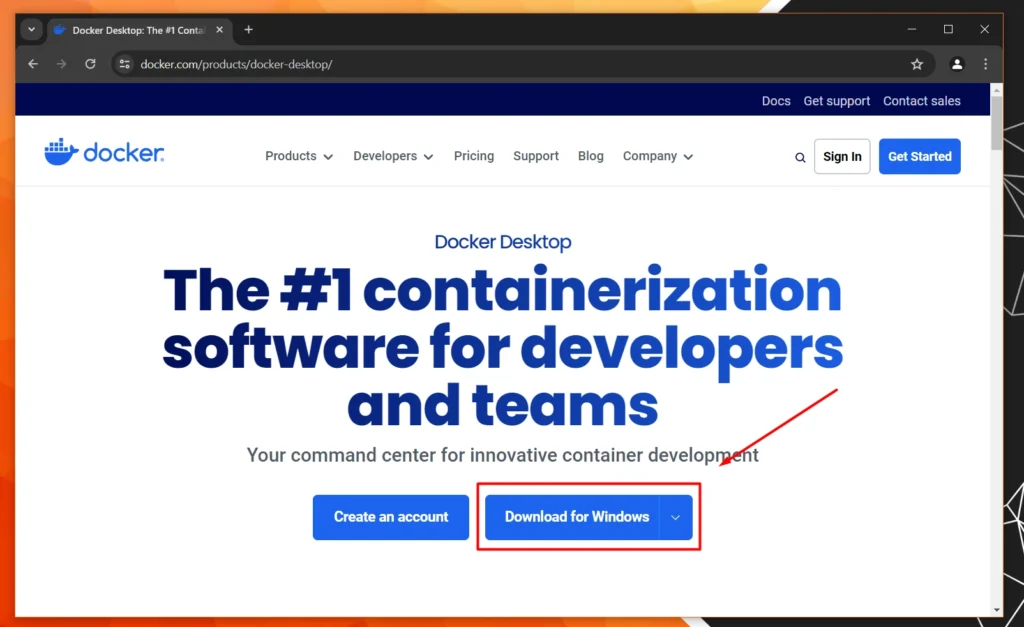
Navigate to the Docker Hub website (put your cursor here, clickity-click).
Find the Desktop for Windows section. Look for the “Download Docker Desktop” button.
Click on it and a download should start.

Step 3: Install Docker Desktop on Windows
Once the download is as complete, follow these steps:
- Open the installer by double-clicking the Windows Installer file you just downloaded.
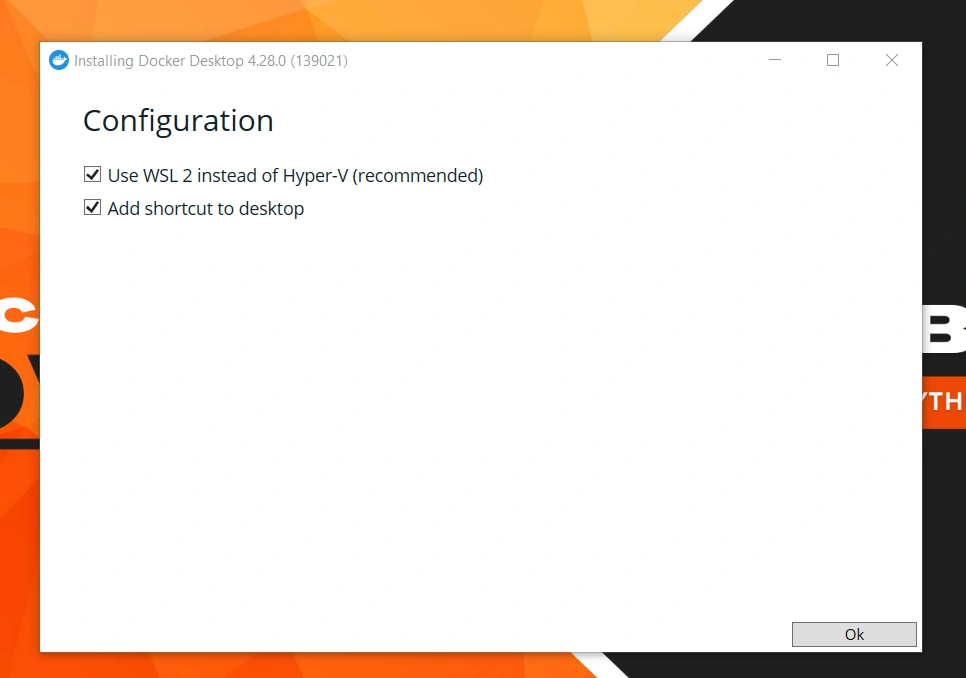
- You’ll be greeted with the setup wizard. Click “Next”.
- You might see options to enable Hyper-V Windows features if not enabled already. Trust me, it’s a good idea to enable them unless you enjoy a non-working setup 😀
- Proceed with the installation. the process will take a few minutes. at the end, you will be asked to log out of the system and click on the logout button to confirm.

Step 4: Run Docker Desktop
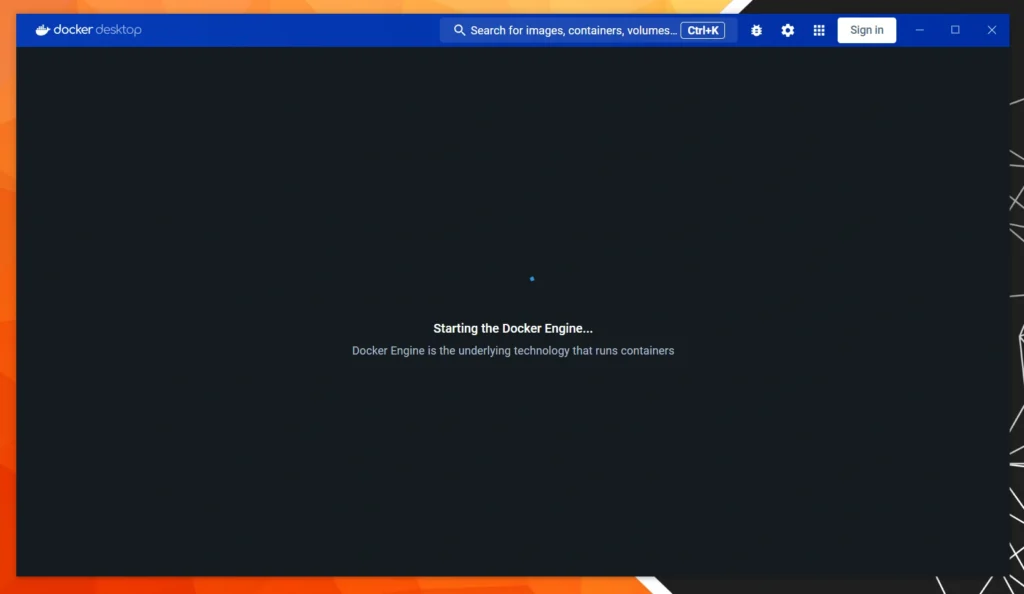
After installation, launch the Desktop app from your Start Menu. You might have to log in with a Docker account. If you don’t have one, consider signing up.

Step 5: Verify the Installation
Let’s ensure that everything is working smoothly:
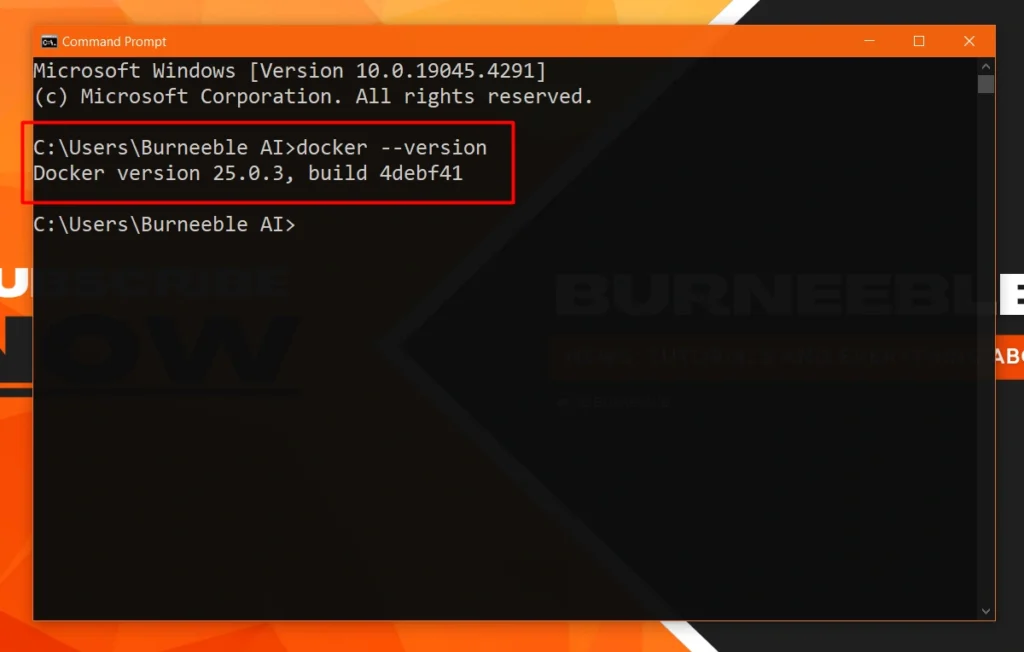
Open a command prompt. You can do this by typing “cmd” in your Windows search bar. Type docker --version and press Enter. This command is like asking Docker politely to show its version. If it prints the Docker version, then congratulations! You’re all set to containerize the digital world.

Step 6: Celebrate!
Congratulations, you’ve successfully installed Docker on Windows! Happy Dockerizing! 🐳
We hope this tutorial helps you. Don’t forget to support us by following us on our social networks and on our YouTube channel!


1 Comment
Docker: Installing it on macOS - Burneeble.com · 22 April 2024 at 11:30
[…] If you are looking for how to install it on Windows, follow our alternative guide: Docker: Installing it on Windows […]
Comments are closed.